My First Blog Post
It's official, I have a blog and I know how to use it.
I have finally decided to take the plunge and add a blog to my site. I always wanted an easy way to share information with visitors and I'm super excited to start this journey. Keep coming back to my site and check for updates right here on the blog.

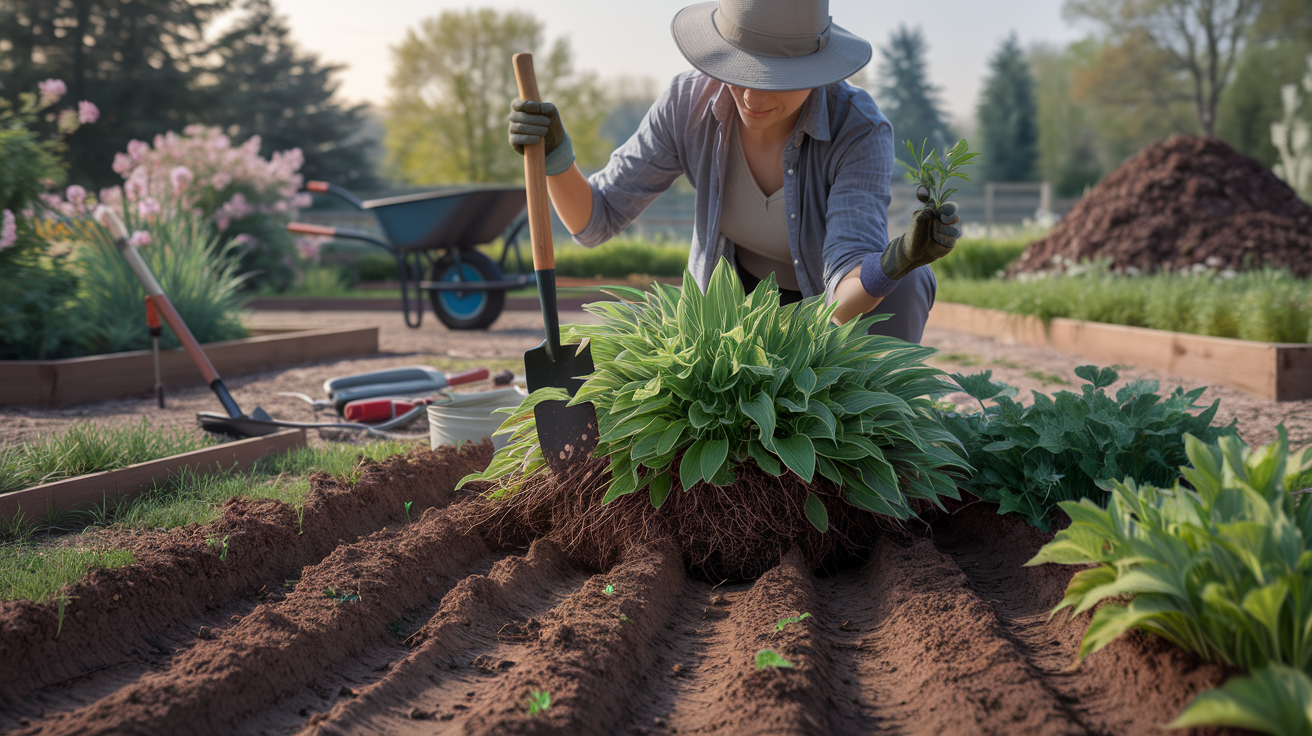
May is one of my favorite times to rethink the garden—especially the perennial beds. Plants are waking up, the weather is perfect for digging, and you can really reshape your space before summer hits. Dividing and moving perennials isn’t just practical—it’s deeply satisfying. It’s like rearranging furniture and realizing your room suddenly works better.

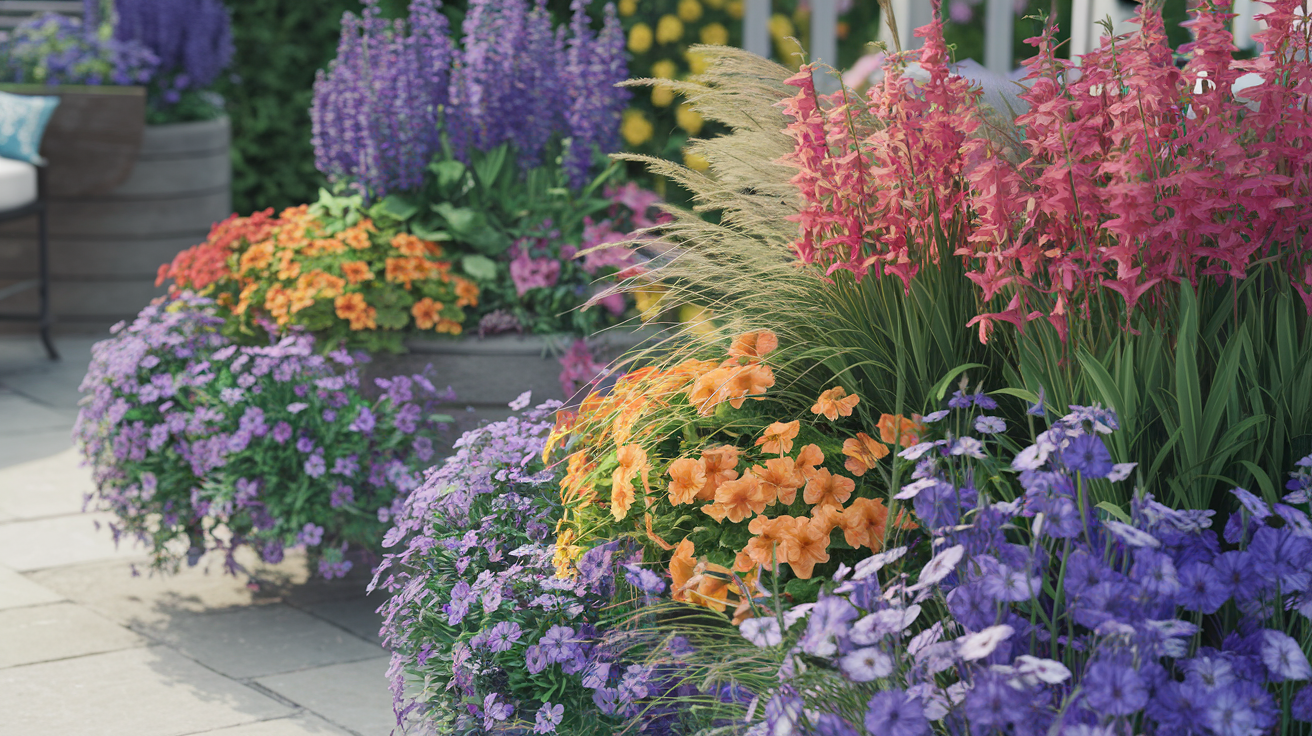
Annuals are the instant-gratification stars of the gardening world. Unlike perennials, which take time to settle in, annuals go big, fast—bursting with color and life from the moment they’re planted. If you want a vibrant, feel-good garden that looks amazing from the curb (or your coffee chair), annuals are where it’s at.

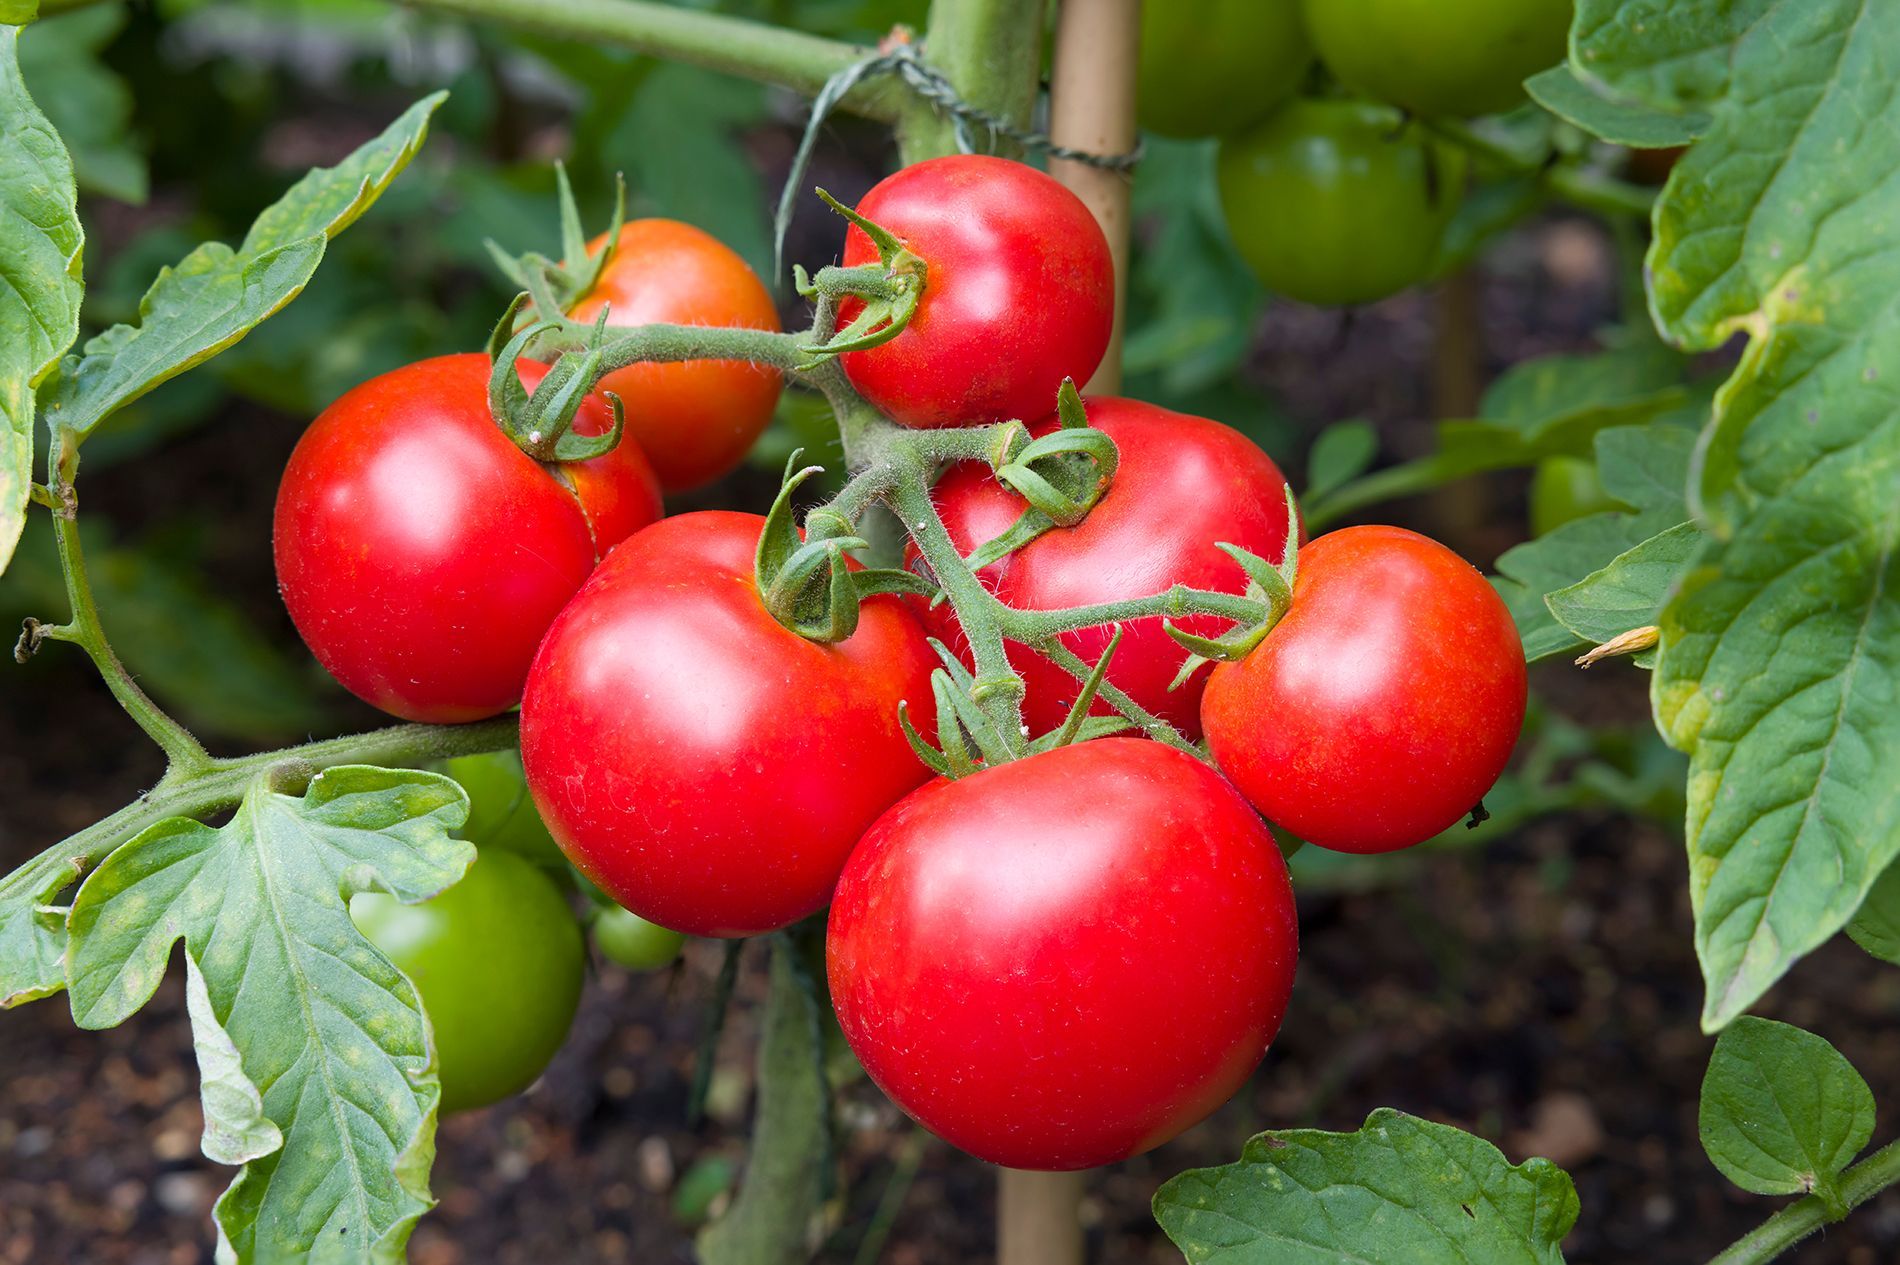
If you’ve ever rushed to plant tomatoes the second the snow melts, you’re not alone. It’s tempting—especially after a long Zone 5 winter—to get those baby plants in the ground early. But when it comes to tomatoes, patience pays off. Late-May is what I call the “sweet spot”—the time when conditions finally line up to give your tomatoes the best chance to thrive.

Growing Clematis For proper care of clematis, clematis vines prefer sunny locations (at least six hours of sun needed for blooming) but the soil should be kept cool. An easy way to accomplish this is by planting some type of ground cover or shallow-rooted perennial plants around the clematis. A 2-inch layer of mulch can also be incorporated to keep the roots cool and moist. Growing clematis vines must be supported in some fashion as well. The type of support system is usually dependent on the variety grown. For instance, poles are acceptable choices for smaller growing clematis vines, which can range anywhere from 2 to 5 feet in height. Arbors may be more suitable for growing larger types, which can get 8 to 12 feet. Most varieties, however, do quite well growing along a trellis or fence. Clematis plants need plenty of space for adequate air flow as well as a rich, well-draining planting area. You should dig the hole large enough to accommodate the plant, with most recommendations suggesting at least a two foot depth of soil amended with compost prior to planting. It may also help to cut the plant back som e before planting to lessen shock as it adapts to its new environment. Annual pruning may also be required to keep clematis plants looking their best. Pruning clematis helps plants remain both attractive and full of flowers. The type of clematis vine grown dictates when and how it should be pruned. For example, early spring-blooming varieties should be pruned back as soon as possible following their blooming but before July, as they bud on previous season’s growth. Large flowering types that bloom in mid spring should be cut back to the topmost buds in late winter/early spring. Late-blooming varieties should be pruned back about two or three feet in late winter/early spring. Before you get started, there are a couple tips for pruning clematis that you should know: Dead or damaged stems may be removed at any time when pruning clematis vines. Damaged plant parts will never be productive, so get rid of them as soon as they are noticed. Know when your clematis blooms. You may want to wait until the second year to prune clematis, especially if it is the large flowering variety. Always prune clematis when flowering is finished. If you prune clematis immediately after bloom time is finished, you won’t have to worry about removing next year’s flowers. Prune clematis for shape at this time, removing up to one third of the plant, if needed. Avoid removing woody stems, if possible. Clematis pruning groups include those that flower on new growth and those that bloom on last year’s woody stem. Once you’re familiar with the bloom time of your clematis, you will be able to prune the vine before buds begin to develop. When deciding how and when to trim clematis, don’t remove a developing bud. If you see buds developing when pruning clematis vines, you may be pruning at the wrong time. Flowers that bloom in spring grow on old wood. Blooms of this clematis developed during last year’s growing season. Plants in this clematis pruning group should be pruned before the end of July to allow blooms for next year. Pruning clematis vines that flower in summer or fall should be done in early spring, as these flowers are produced on the current year’s growth. Large flowering hybrids may produce a second set of blooms. Deadhead spent flowers for another series of blooms, though they will likely be smaller than the first, as these appear on new growth. When deadheading the first blooms, as much as 12 to 18 inches of stem.

Splash color across the garden with this very versatile annual. This beauty comes in a rainbow of colors and butterflies love to flit from flower to flower for the sweet nectar. Most verbenas are part of a series. We carry some of the Endurascape, Lascar, Tuscany, and Lanai series, which all come from cuttings in our 4.3” pots and our hanging baskets. In flats we carry the Quartz series, and those are grown from seed. What is the difference? Cutting flowers tend to grow larger, and are less prone to powdery mildew. Seed grown verbena are less expensive and might be great for a large project or mass planting. You will need to deadhead them so they don’t waste energy forming seeds. When you are putting your containers together verbena has a lot of variety. We carry Green Apple, Dark Violet, Mango Orange, Twister Purple Shades, Pink, Red, Meteor Shower, and Bright Eyes just to name some of them. Most grow somewhere between 8-14” High and 12-16” Wide. Some are upright and some trail. Do you have an empty spot in your sunny border bed? An upright verbena is perfect. Ok...so now you know a little about verbena...Let’s talk about what to do with it. If you are looking for great companions in a pot your going to make up, try pairing it with a Calibrachoa in a contrasting color (like red and dark purple) or a complementary color (like lavender and yellow) then add a sedge or cypress as your tall thriller. Verbena can also be used as a thriller or a spiller depending on which variety you choose. A great hanging basket combo is a red verbena with a royal velvet Supertunia. This will look good all season and the 2 contrast excellently together. As I stated above, verbena is not only great in a pot, but grows well in the ground too. Upright types very rarely get above 14”. Depending on the scale of your garden, most will do just fine near the front of the border creating a colorful edge, or cluster them and repeat the color throughout the bed. There’s a few things I should tell you about this great plant so you can have the biggest flowers and vigorous growing plants. They absolutely need to have plenty of sun-at least 6 hours. Try and skimp on that sun and you will have weak plants and very few flowers. Whether in pots or in the ground, they need excellent drainage. The next thing to avoid is the dreaded homeowners “drought stress.” Yes, you know I’m talking to you….when you let the soil dry out completely between waterings. This will actually set back blooming by 1-3 weeks. When it’s hot you may need to water daily. Now on the flipside they can actually rot in soggy soil that does not drain. Maybe you have grown them before and have not had lots of flowers or long gaps between flowering. There are a couple of reasons verbena will not flower in summer: humidity and hot nights. Temperatures above 65 degrees overnight slow them down so there aren't as many blooms. Cool nights will help build energy for the next day. I know you can’t do much about the weather, but I do know the Endurascape series is a lot more heat-tolerant. You don’t have to deadhead verbena, but it will help most flower better if you do. If you bought your verbena in flats vs. in a single pot it was probably grown from seed and you will need to snip off the spent blooms so energy is spent producing more flowers not seeds. Sometimes the flower head with buds look similar to the spent flower heads. One will feel empty and one will feel plump. You can deadhead 2 ways. Cut off each individual flower...not my idea of a good time, but go for it...or 2. (My preferred method) grab a hunk of it and cut off a 1/3 of it after the first flush of blooms are done. Verbena also need regular fertilizer feeding. I feed mine every 2 weeks with miracle grow. Pale green leaves and slower flowering are generally signs that you need to feed your verbena. The other common problem that verbena can have is the dreaded powdery mildew. Spores are carried by the wind, so dry weather, shade, and moderate temperatures create ideal growing conditions for it. How do you deal with it? Well you can be pro-active and spray your verbena with the old tried and true baking soda recipe. (1 gallon water, 1 tsp. Ivory Soap, 1 tsp. baking soda) Mix it up, put in a spray bottle. Shake before using and spray your plants every week, making sure to get the bottoms of the leaves too. Now for this to work you have to start doing this BEFORE you get powdery mildew. If you develop powdery mildew, you can manage it, but not cure it. Cut off the affected stems cleaning your cutters between cuts. Toss it in the trash, not the compost pile. You can treat with Neem oil, or a commercial fungicide. And the last trick...overhead watering of Verbena. This can actually keep powdery mildew from starting and spreading. Remember the spores are spread by wind, not water, so spraying from above increases the humidity so spores have a less favorable environment. Water by mid-morning so leaves have a chance to dry. So bring out the best in your verbena with these cultural practices and you will have loads of colorful flowers to fill your containers and borders. Who knew I could write a whole page about one flower...hahaha! Pro-Tip: Don’t forget to turn hanging baskets of verbena everyday so they grow and flower evenly.


